Twisted Turban Headband DIY
We’ve seen them all over Coachella again this year: Boho headbands. I love that look! It’s not a complicated hairdo which is something I’m super happy about because as soon as I need more than a hair tie to make a basic pony tail I’m lost. Not only are headbands fashion accessories but they actually have a practical purposes too. Who else is annoyed by hair in your face? Fear no more! This twisted turban headband DIY will hold your hair away from your face or food or whatever else your hair tends to get stuck in.

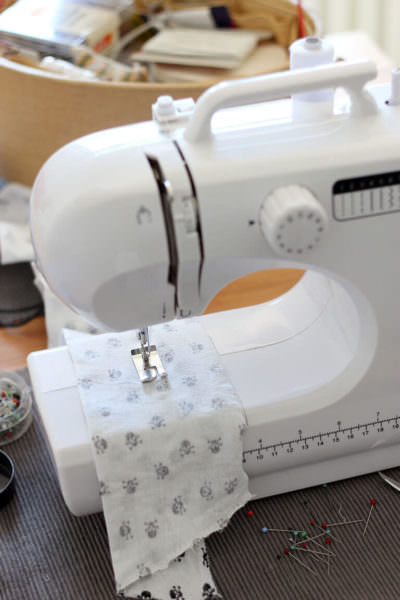
I just got a sewing machine that someone gave away because they weren’t too happy with it. Apparently it sometimes gets stuck but so far I had no issues. I had it standing around for a bit before I decided to try it out. When I wanted to start with this tutorial I finally checked the whole equipment that came with it. Turned out I was missing a metallic spool. Ugh. So I called my mom and asked her if she has one that I could borrow. Obviously I figure those things out on Sundays. If you’re not familiar with Sundays in Germany it means everything is closed. And with everything I mean everything. There’s no stores open at all. There was no way that I would have gotten a spool other than from my mom. Thanks Mom!
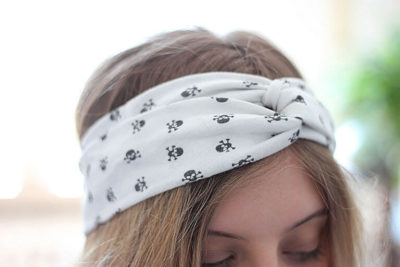
Not only is this a super easy DIY but it’s also great project for sewing beginners. Trust me as this is the first thing I’ve ever sewn by myself. And to put a cherry on top it’s made out of recycled materials! As you’ve might have seen in my T-Shirt refashioning tutorial I do love me a good upcycling DIY!
I used this old T-Shirt that I still kinda liked but not enough to wear it anymore. You know those pieces of clothing that you just can’t get rid of even though you never wear it? Yeah, it’s one of those pieces. I bought it once on vacation and I guess that is why I’m somehow attached to it. I still like the fabric but not the cut. So I kept it just so I could recycle it one day and this day has finally arrived!
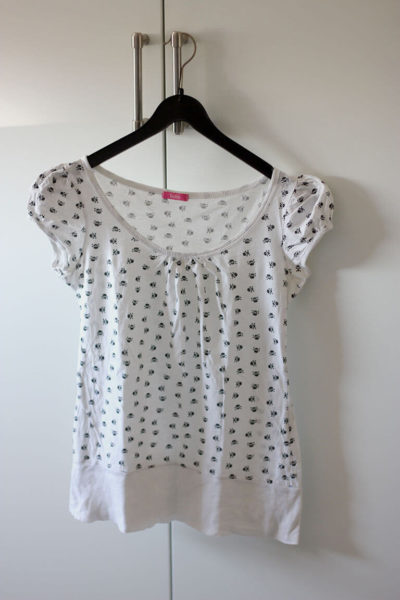
Twisted Turban Headband DIY
What you’ll need:
- Old T-Shirt
- Scissors
- Sewing machine
The T-Shirt should be made out of a stretchy material like Jersey so it’s easier to use as a regular headband.
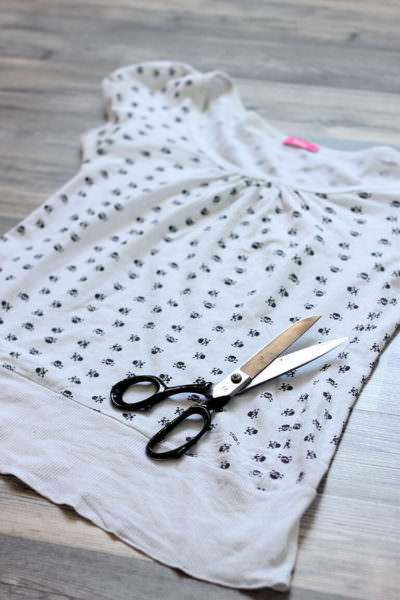
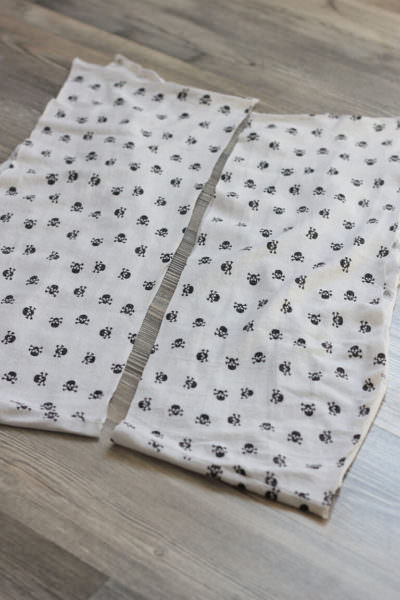
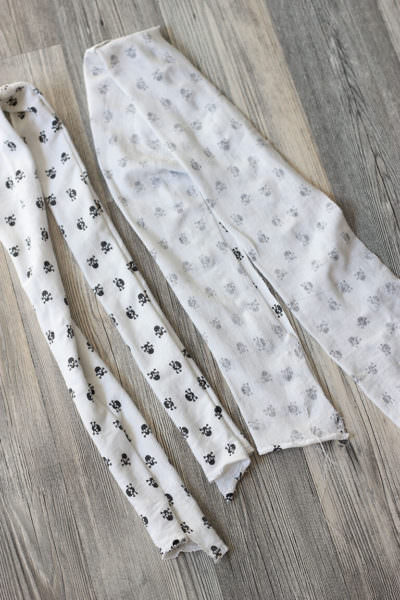
First cut up your T-Shirt. In my case my T-Shirt had this bottom layer that I had to cut off. If you have a regular T-Shirt just cut off the upper part where the sleeves are attached. Next I had to open the seam on one side of the T-Shirt so I got a long thick stripe.
Cut two strips out of the fabric. Mine are about 4 in x 20 in. You can make it thicker or thinner. Just make sure that the stripes are double as wide as the final width you want your headband straps to be.
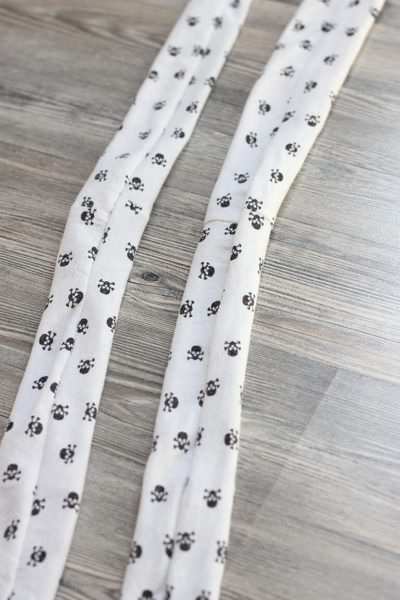
Fold each strip in half (inside out) . I secured mine with some pins to make it easier to sew. But you can skip this step and just sew down the long side of the raw edges . Flip right side out which is a nerve fracking task if you’re as impatient as me. Once you’re done with this step you should be left with two long tubes.
Lay out tubes with the seam sides up so that is forms an “X”.

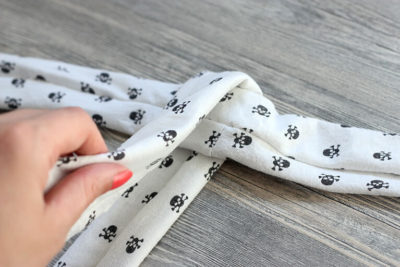
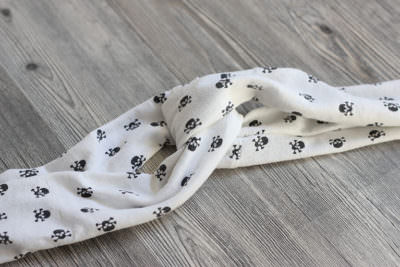
Fold strips over so that they are linked together, matching up the raw edges. Can you see where we are getting here? We’re almost done with our twisted turban headband DIY!
The last step is the most important one because we need to make sure that it fits on our head. Wrap the unfinished headband around your head to see how tight you need to make it. Keep that measurement in your head and line up all pieces. Sew them all together with a straight stitch. Now all you have to do is cut off any excess and flip seam to the inside of headband.

That was easy, wasn’t it? I’m super happy with the result and I like how the skulls give it an extra edgy vibe.
You don’t even have to be all too precise while sewing which makes it so great for beginners. Nobody will notice if it’s a straight line or not. Yay!
I hope you liked this twisted turban headband DIY as much as I do!
What was your first sewing project?
With this project I participate in the great #DIYyourCloset project which is organized by Lisa and Katha. They want to motivate to make more and buy less. How fitting for one of the leading themes in this Blog. 🙂



I really love this cool and easy DIY. Maybe I’ll try it later on today 🙂
Love, Sassi
http://www.besassique.blogspot.de
Hi Sassi, thanks for your nice comment! We’re glad you enjoy our tutorial and would love to hear how it turned out 🙂
Thank you for this pattern. I have had short hair for years and discarded all my unused headbands. With coronavirus coming to Kauai, I need something to keep my too fine hair out of my face. And, I like this pattern better than the one I previously used.
You’re welcome! I totally feel you! My hair is out of control these days 😀