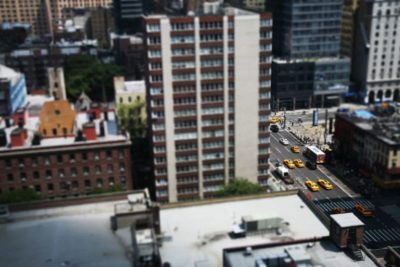
Miniature Effect: How to create the Tilt Shift Effect in Photoshop
In this Photoshop CS5 tutorial I will show you how to create the Tilt Shift effect to make images look like a miniature scale model. This effect is also known as diorama effect or diorama illusion. The method is the same for a lot of Photoshop versions. The fake miniature effect is very easy to create and only takes a couple of steps.

So first of all what is Tilt Shift? Let’s see what wikipedia says:
Tilt–shift photography is the use of camera movements on small- and medium-format cameras, and sometimes specifically refers to the use of tilt for selective focus, often for simulating a miniature scene. Sometimes the term is used when the large depth of field is simulated with digital post-processing; the name may derive from the tilt–shift lens normally required when the effect is produced optically.
If you don’t have the money to spend on a Tilt-shift lens (like me!) you can easily create the miniature effect using digital post-processing. Lucky us!
So this is how to do it:
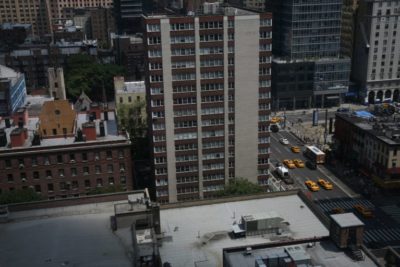
First you need an image from further away and even better if it’s also from an elevated level. I choose this shot from my time living in New York City. Open it in Photoshop.

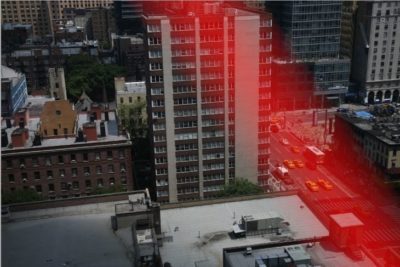
First press Q to get into the masking mode.
Open Gradient Tool and choose Reflected Gradient to create the Miniature Effect.
Draw in a straight line in the area that you’d like to be in focus. A red line will appear which marks the part of the image that will be in focus.

Press Q once again and the red color part will disappear and a selection will be visible instead.
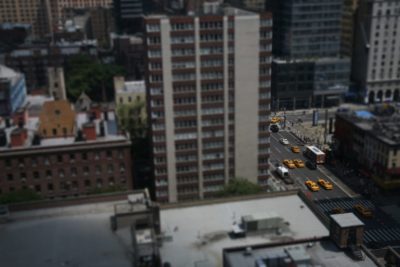
Go to: Filter > Blur > Lens Blur. Now adjust the radius of the blur until you reached your desired amount and press OK. I adjusted the radius to about 35.
Press CTRL + D to deselect the selection. And voilà you’re all done with your Miniature Style image.

In my case I adjusted the contrast a bit more and lightened it up but these steps vary from image to image.